
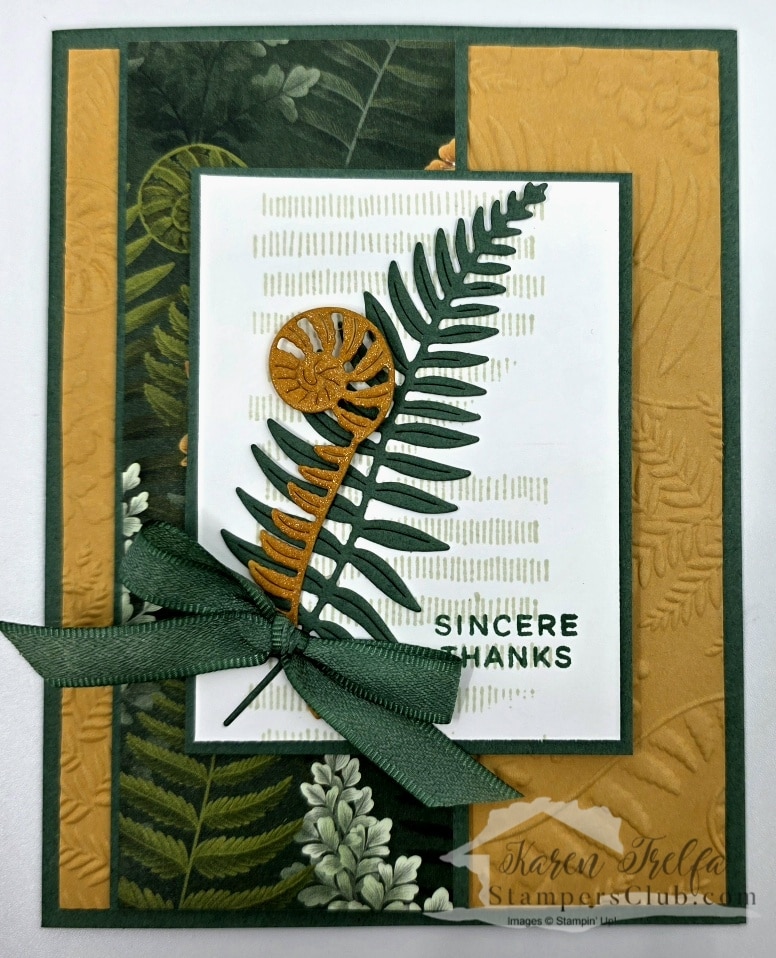
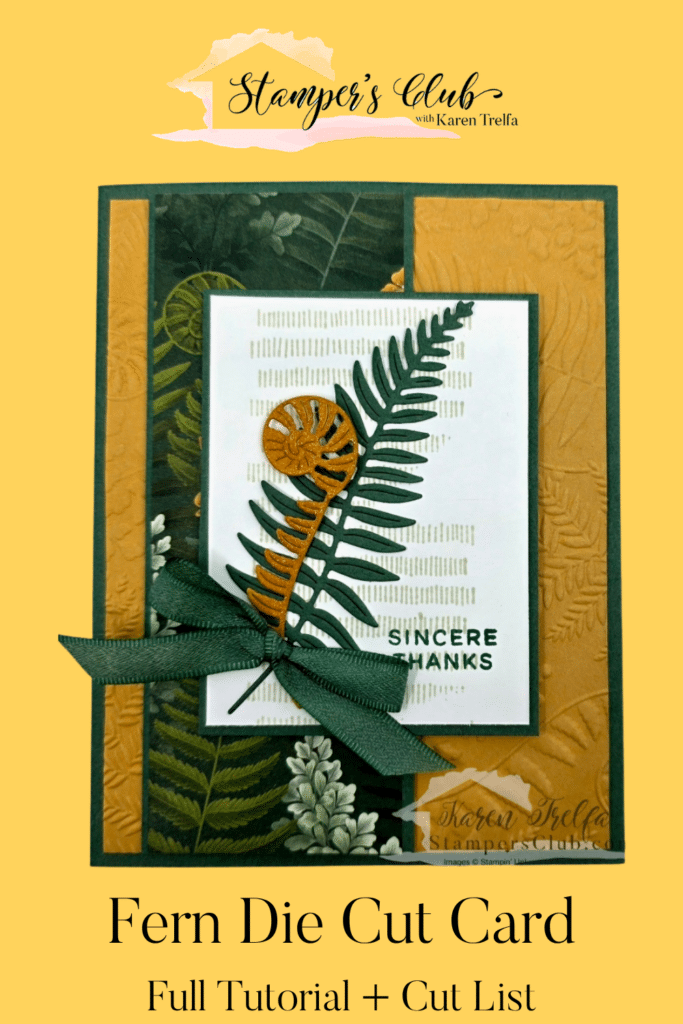
This fern die cut card is one of those designs that looks far more complicated than it actually is — and that’s exactly why I love it. Two layered fern die cuts, a hand-painted shimmer effect, and a foolproof flat bow trick combine to make a card that feels elegant and rich without being difficult. If you love deep greens paired with warm metallic gold, this one is going to be right up your alley.
Shop This Look
Want to make this exact card? Click below to build your shopping cart with everything you need from the Fern & Flora Bundle.
Supplies used in this project:
- Fern & Flora Bundle (stamp set + dies)
- Fern & Flora Designer Series Paper
- Fern Embossing Folder
- Peaceful Pine cardstock
- Golden Glow cardstock
- Basic White cardstock
- Basic Beige ink
- Peaceful Pine ink
- Golden Glow Shimmer Brush
- Peaceful Pine ribbon
- Dimensionals, mini dimensionals, liquid glue, glue dot
Fern Die Cut Card — Cutting Guide
Peaceful Pine
- 5½” x 8½” — score at 4¼” (card base)
- 2⅛” x 5¼” (side strip)
- 2⅝” x 3⅝” (focal panel mat)
- 4″ x 1¾” (large fern die cut)
Golden Glow
- 4″ x 5¼” — emboss with Fern Embossing Folder
- 2¾” x 1½” (shimmered fern die cut)
Basic White
- 2½” x 3½” (focal panel front)
Fern & Flora Designer Series Paper
- 2″ x 5¼” (side strip)
Ribbon
- Peaceful Pine — 12″
How to Make This Fern Die Cut Card
Step 1 — Card base
Score your Peaceful Pine cardstock at 4¼” and fold in half. Hold the card down flat and run your bone folder firmly along the crease — this keeps it from getting that little twist at the fold.
Step 2 — Embossed layer
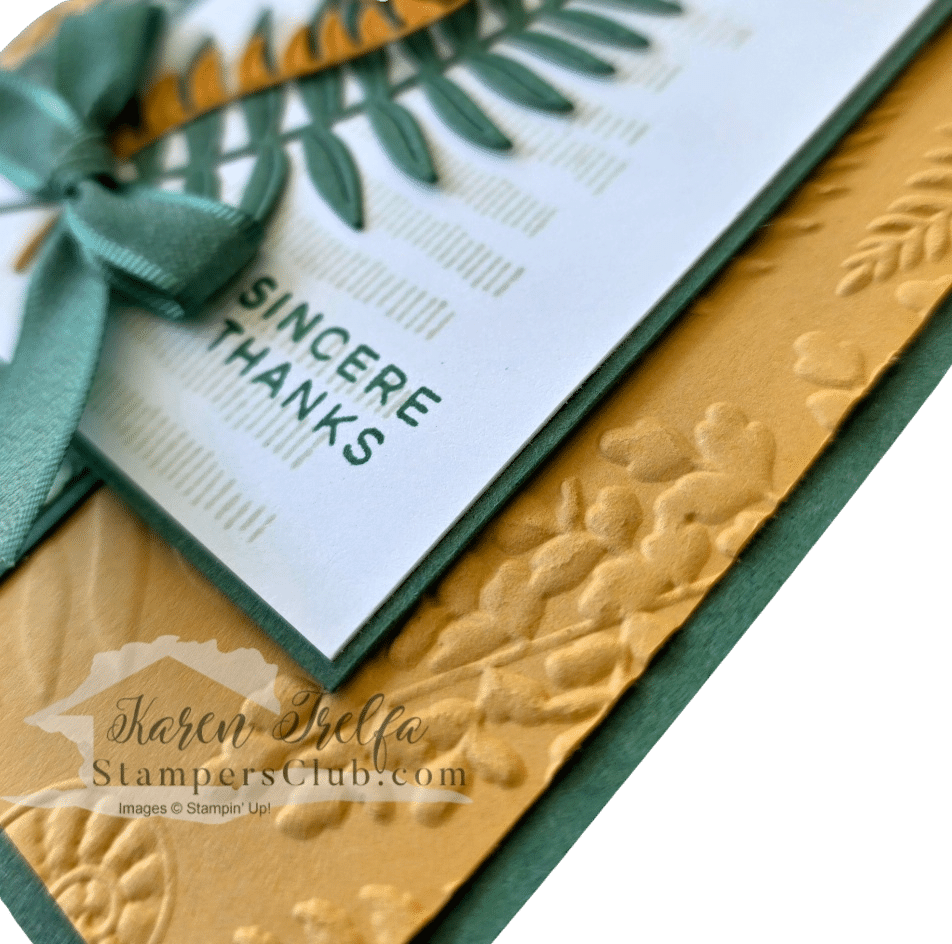
Run your 4″ x 5¼” piece of Golden Glow cardstock through the Fern Embossing Folder. Adhere it to the card base.
Step 3 — Designer Series Paper strip
Adhere the 2⅛” x 5¼” Peaceful Pine strip and the 2″ x 5¼” Fern & Flora DSP strip together, then adhere that combined strip to the left side of the card base. Before you glue, make sure your florals are pointing upward — growing up, not upside down.
Step 4 — Focal panel
Stamp the background image from the Fern & Flora stamp set onto your 2½” x 3½” Basic White panel using Basic Beige ink. Stamp the “Sincere Thanks” greeting using Peaceful Pine ink. Layer the stamped panel onto the 2⅝” x 3⅝” Peaceful Pine mat and mount the assembly to the card front on four dimensionals.
Step 5 — Large fern die cut
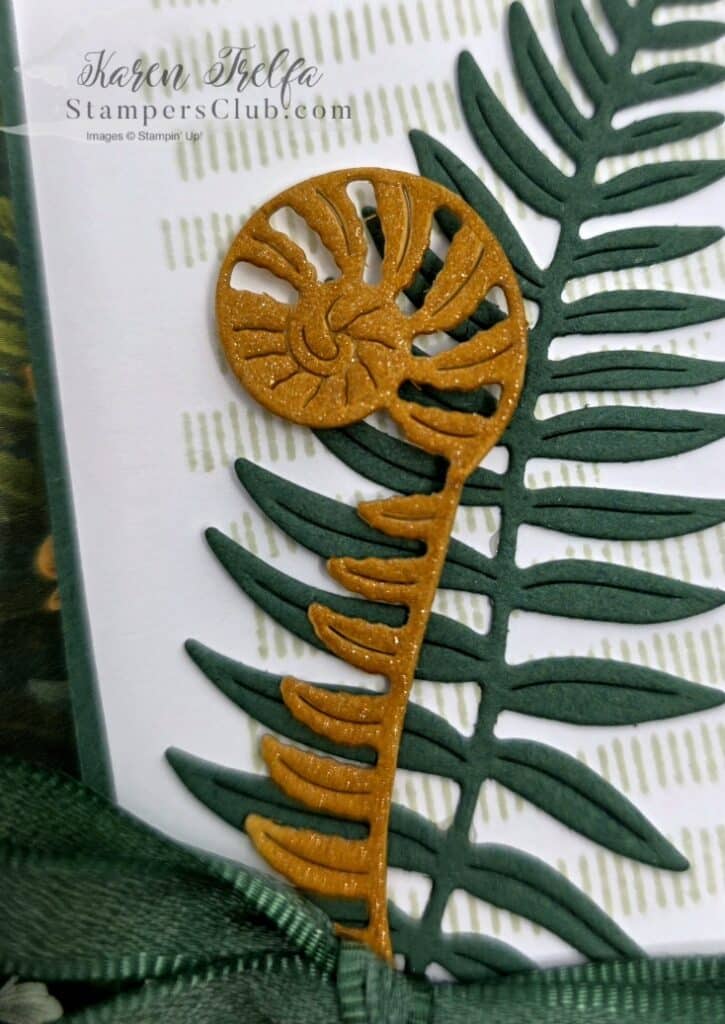
Die cut the large fern from your 4″ x 1¾” piece of Peaceful Pine cardstock. Adhere it to the card using liquid glue.
Step 6 — Shimmered fern die cut
Die cut the smaller fern from your 2¾” x 1½” piece of Golden Glow cardstock. Paint the entire die cut with the Golden Glow Shimmer Brush — you’ll see the color deepen and shimmer as you go. Attach the top part of the fern with a mini dimensional and the bottom part with liquid glue, layering it over the Peaceful Pine fern.
Step 7 — Ribbon bow
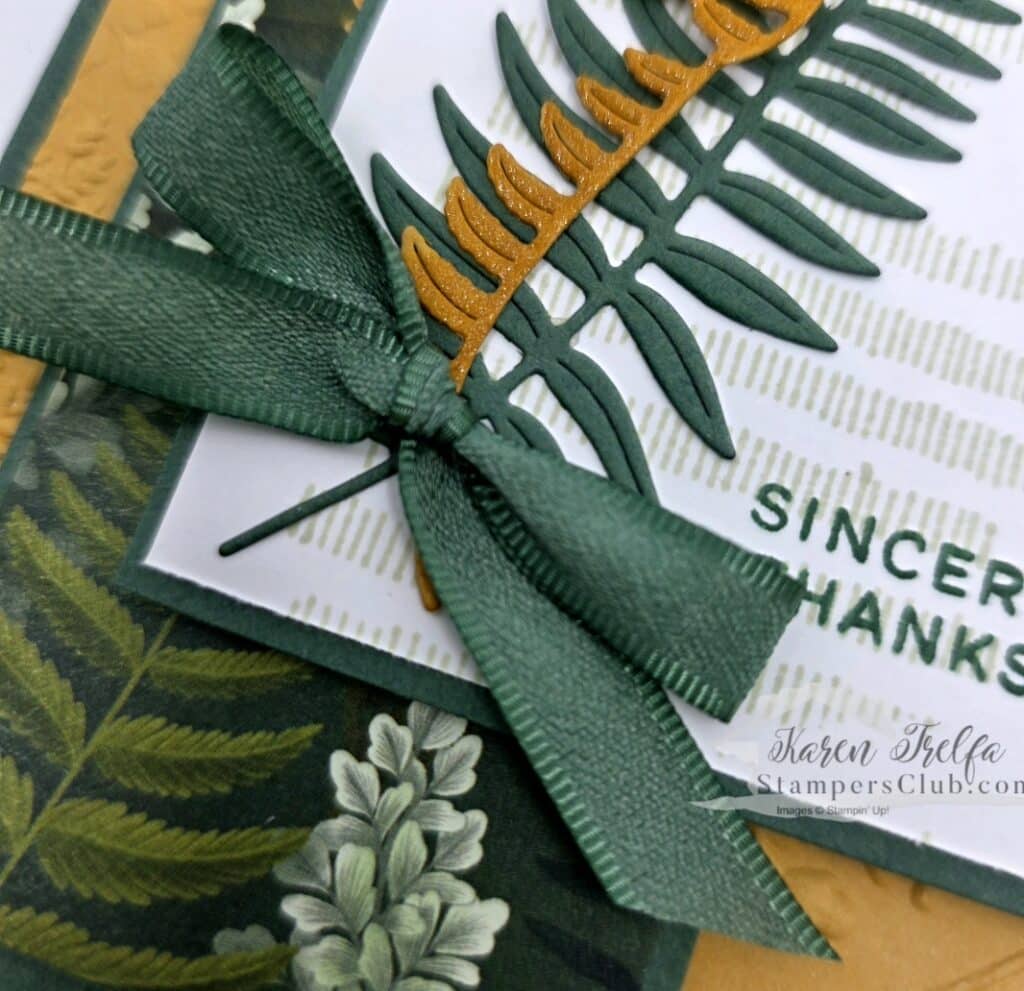
Use 12 inches of Peaceful Pine ribbon. Make two loops and tie them together — keep it loose at first. Hold the center of the bow, pull both loops down, then retighten. Repeat that pull-and-tighten a couple of times until your bow sits flat. A flat bow mails so much better than a thick twisted one. Attach to the card with a glue dot, angling it slightly so the “Sincere Thanks” sentiment still shows.
My Favorite Tip for This Fern Die Cut Card
The Golden Glow Shimmer Brush is brand new in the catalog and it’s such a simple way to make a die cut look elevated — no extra supplies, no heat tool, just brush it on and watch the shimmer build. Test on a scrap piece first so you can see how much coverage you like before you commit to your final piece.
Why This Card Is Worth Making
This card proves you don’t need a lot of colors to make a big impact. Two colors, two die cuts, and one shimmer technique go a long way. The Fern & Flora palette works beautifully for sympathy, encouragement, or just-because cards too — not just thank yous — so this is a layout you’ll come back to again and again. And that flat bow trick means you can actually mail it without it getting crushed.
Want to Make More Cards Like This?
If you loved this project, you’d love my free monthly Stampers Club card class. Every month I teach live on YouTube and Facebook — no signup, no fee, just show up and make something beautiful.
Place a $50 Stampin’ Up! order with me anytime this month and I’ll mail you the supply kit so everything is ready to go when class starts.
👉 Get details and order your free class kit
Pin This Fern Die Cut Card for Later
Save this to your favorite Pinterest board so it’s waiting for you when you’re ready to create.
I’d love to hear from you in the comments — would you keep this as a thank you card, or swap the sentiment for something different?
Happy Stampin’ Karen