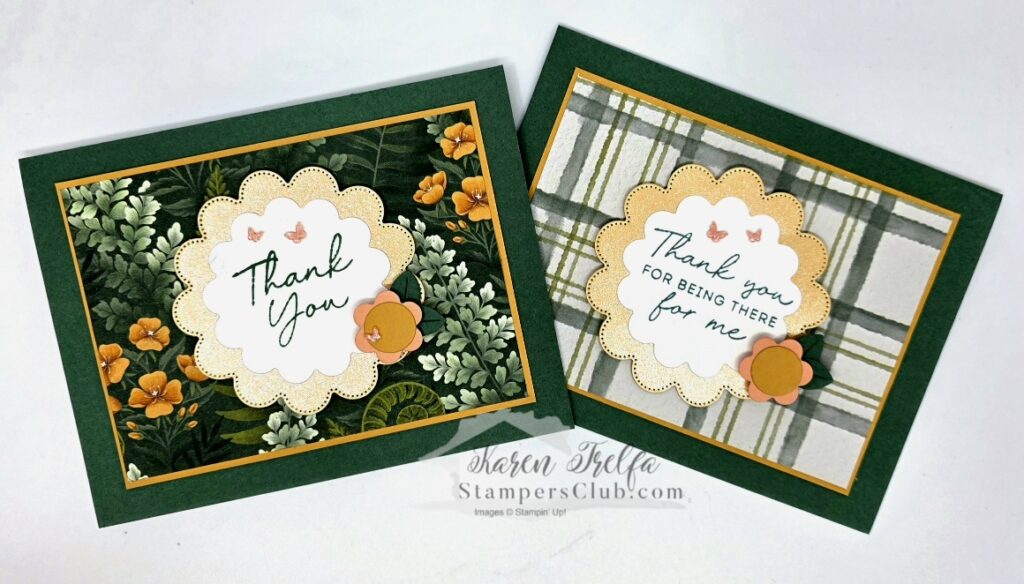
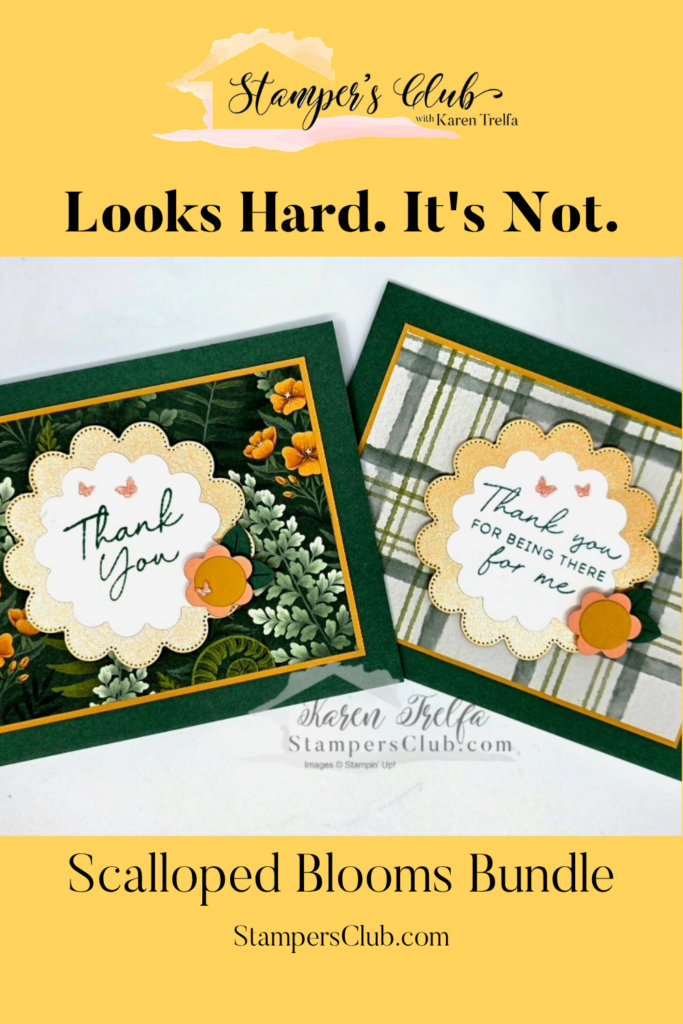
This scalloped card is one of those designs that instantly looks like it took hours — and I promise you it didn’t. The layered scalloped frame, sweet little flower accent, and classic thank you sentiment all come from the same Scalloped Blooms Bundle, which means no hunting around for extra supplies. If you love cards that look complicated but are actually quick and easy to make, this one is for you.
[INSERT IMAGE — scalloped-card-both-versions-stampin-up.jpg — hero image]
Watch the Full Scalloped Frame Card Tutorial
Get Everything You Need
Want to make this exact scalloped card? Click below to build your shopping cart with everything you need.
Supplies used in this project:
- Scalloped Blooms Bundle (stamp set + dies)
- Fern & Flora Designer Series Paper
- 2026–2028 In Color™ Pearlized Specialty Paper
- Peaceful Pine cardstock
- Golden Glow cardstock
- Crisp Cantaloupe cardstock
- Basic White cardstock
- Peaceful Pine ink
- 2026–2028 In Color™ Butterflies
- Dimensionals, mini dimensionals, liquid glue
Scalloped Card — Cutting Guide
Peaceful Pine
- 5½” x 8½” — score at 4¼” (card base)
- 1″ x 1″ (die cut leaves)
Golden Glow
- 4¾” x 3½” (layer)
- ¾” x ¾” (die cut circle — flower center)
Fern & Flora Designer Series Paper
- 4⅝” x 3⅜”
2026–2028 In Color™ Pearlized Specialty Paper — Golden Glow
- 3″ x 3″ — die cut with Scalloped Blooms die (scalloped frame layer)
Basic White
- 2½” x 2½” — die cut with Scalloped Blooms die (focal panel)
Crisp Cantaloupe
- 1″ x 1″ (die cut flower)
How to Make This Scalloped Frame Card
Step 1 — Card base
Score your Peaceful Pine cardstock at 4¼” and fold in half. Hold the card down flat and run your bone folder firmly along the crease to get a clean crisp fold.
Step 2 — Layer the background
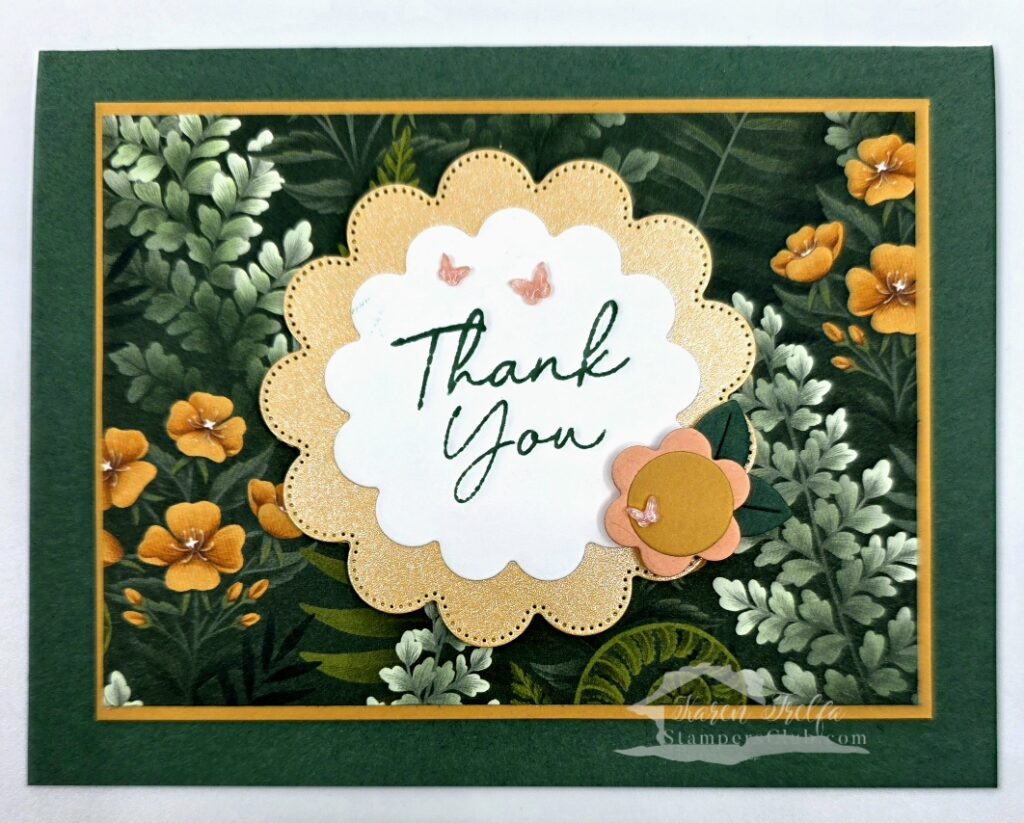
Adhere your 4⅝” x 3⅜” Fern & Flora DSP to your 4¾” x 3½” Golden Glow cardstock. Adhere the combined piece to the center of the card base.
Step 3 — Scalloped frame
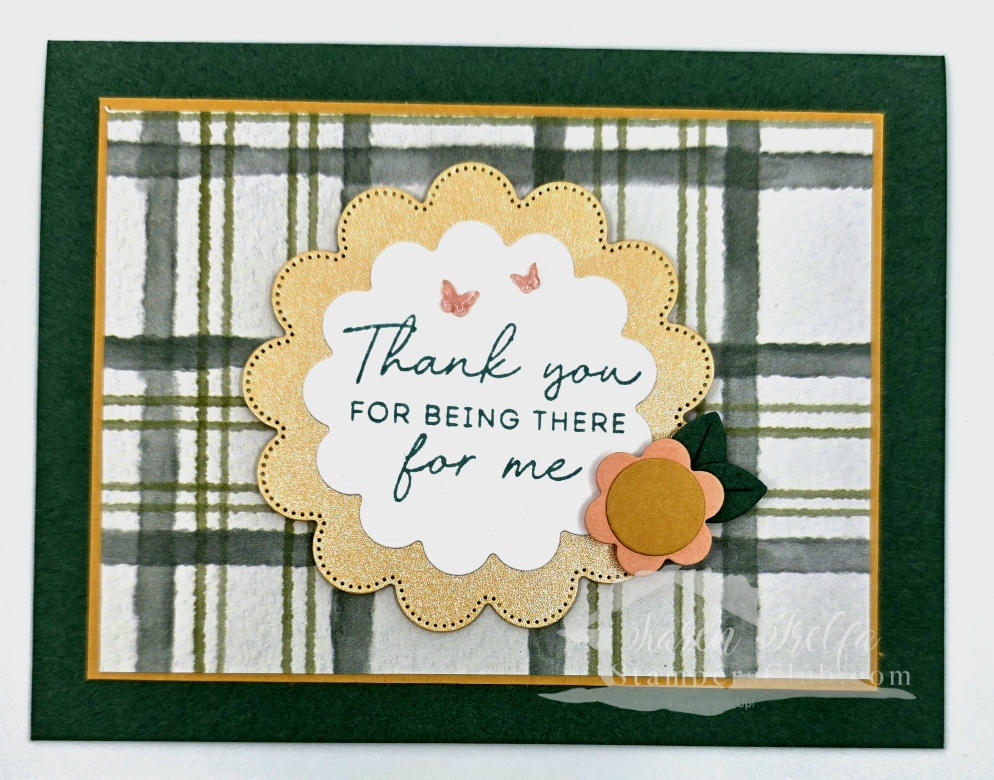
Die cut your 3″ x 3″ piece of Golden Glow Pearlized Specialty Paper using the Scalloped Blooms die. Die cut your 2½” x 2½” piece of Basic White cardstock using the same die. The scalloped dies alternate between plain and scalloped edges so you can layer them with the scalloped Golden Glow frame behind the plain Basic White panel for a beautiful layered effect.
Step 4 — Stamp the sentiment
Stamp your “Thank You” greeting from the Scalloped Blooms stamp set onto the Basic White die cut panel using Peaceful Pine ink. Layer the stamped panel onto the Golden Glow scalloped frame and adhere to the center of the card on dimensionals.
Step 5 — Flower accent
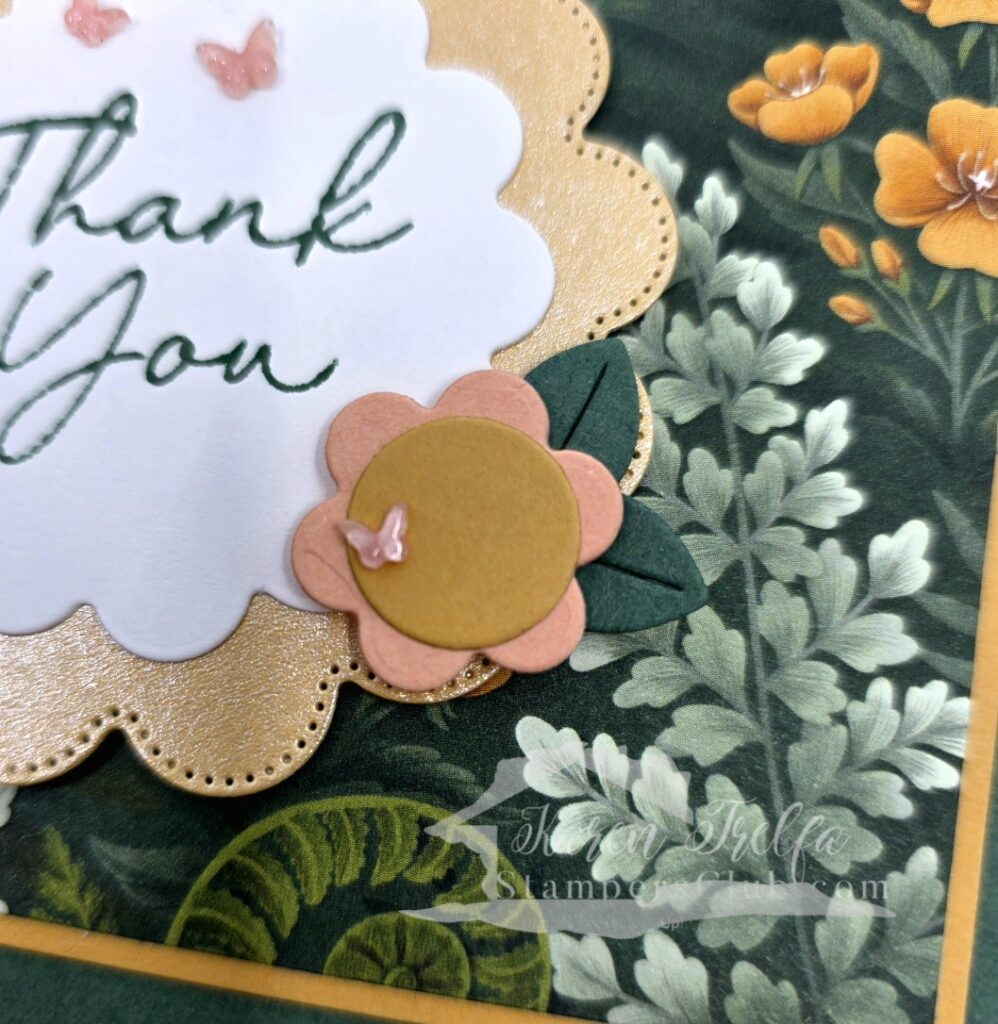
Die cut your flower from the 1″ x 1″ piece of Crisp Cantaloupe cardstock and your circle center from the ¾” x ¾” piece of Golden Glow cardstock. Adhere the Golden Glow circle to the center of the Crisp Cantaloupe flower with liquid glue. Die cut two leaves from your 1″ x 1″ piece of Peaceful Pine cardstock. Place both leaves on a double-stacked dimensional so they sit up off the card, then adhere the flower on top. Tuck the whole assembly into the lower corner of the scalloped frame.
Step 6 — Butterfly embellishments
Add your 2026–2028 In Color™ Butterflies to the Basic White panel — use a mix of sizes for the most natural look. A mini dimensional under one butterfly gives it a little extra lift.
My Favorite Tip for This Scalloped Card
Use liquid glue when attaching the leaves to the dimensional — it gives you a few seconds to adjust their position before it sets so you can get them sitting just right before adding the flower on top.
Why This Scalloped Card Is Worth Making
This scalloped card proves that a layered focal panel doesn’t have to be complicated. Everything comes from the same bundle, the steps are straightforward, and the finished card looks like something you’d find in a boutique shop. The Fern & Flora DSP does a lot of the heavy lifting with its rich botanical print, and swapping to a different DSP pattern — like the plaid version shown in the video — gives you a completely different look from the exact same layout.
Love Making Cards Like This?
Want more cards like this delivered straight to you? I have two ways to help — a free monthly card class you can join with no signup needed, and a monthly card subscription where I mail you six card designs and all the supplies. Both are designed for people who love making beautiful handmade cards without the overwhelm.
👉 Free class details | Monthly card club
Pin This Scalloped Card for Later
Save this to your favorite Pinterest board so it’s waiting for you when you’re ready to create.
I’d love to hear from you in the comments — the Scalloped Blooms Bundle has so many gorgeous sentiments in it. Which one would you reach for first?